- All
- Product Name
- Product Keyword
- Product Model
- Product Summary
- Product Description
- Multi Field Search
Views: 0 Author: Site Editor Publish Time: 2025-08-06 Origin: Site


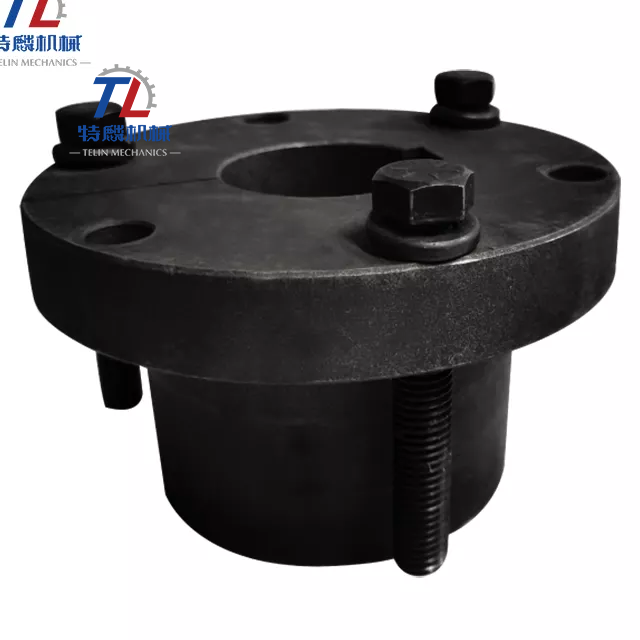
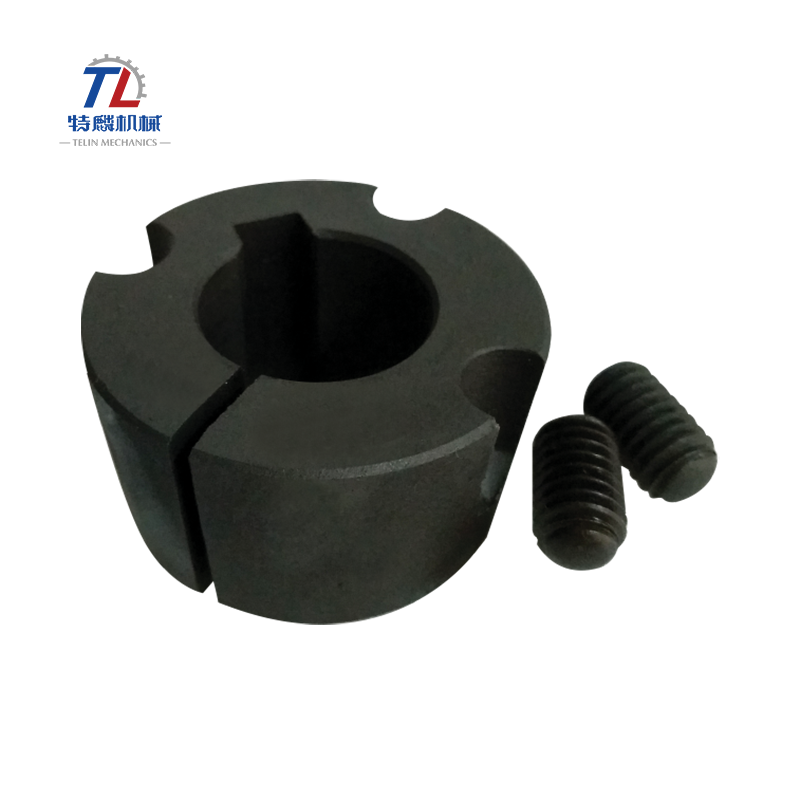
Taper-Lock bushings are essential for efficient power transmission, securing sprockets, pulleys, and other components to shafts. These bushings come in various standards, including American Standard Taper Bushing and European Standard Taper Bushing, tailored for different industries.
In this post, we’ll guide you through the proper installation and removal process to avoid costly damage and maintain system performance.
A Taper-Lock bushing is a locking mechanism used to securely mount components like sprockets or pulleys onto shafts in power transmission systems. The bushing features a tapered design, allowing it to fit tightly onto both the shaft and the corresponding hub, ensuring a stable connection. Once installed, the Taper-Lock bushing helps transfer power smoothly, minimizing the risk of misalignment or slippage.
The American Standard Taper Bushing is widely used in the U.S. and other regions that follow American engineering practices. It typically features a consistent bore size and keyway dimensions, ensuring compatibility with standard shaft sizes. This bushing is preferred in industries requiring higher torque and robustness.

On the other hand, the European Standard Taper Bushing aligns with the dimensional standards common in Europe. It offers a more varied range of bore sizes and may have slight design differences to accommodate European shaft configurations. Industries that follow ISO standards often opt for this version, particularly in machinery and automotive sectors.
While both standards serve similar purposes, understanding their differences ensures you choose the right bushing for your specific application. Whether you're working with the American Standard for heavy-duty applications or the European Standard for precision systems, each has its strengths.

| Feature | American Standard Taper Bushing | European Standard Taper Bushing |
|---|---|---|
| Compatibility | Standardized bore sizes, keyways | More varied bore sizes and dimensions |
| Preferred Regions | Primarily used in the U.S. | Commonly used in Europe and ISO-standard regions |
| Typical Applications | Heavy-duty industrial machinery | Precision machinery, automotive industries |
| Design | Robust and consistent sizing | Flexible sizing options for European shafts |
| Torque Handling | Handles higher torque applications | Suitable for lighter to moderate torque systems |
Before you start installing a Taper-Lock bushing, make sure you have the right tools on hand. Here's a list of the essential equipment you'll need:
Torque Wrench: To tighten bolts to the correct torque specification, ensuring proper installation without over-tightening.
Allen Key or Socket Wrench: For adjusting screws and securing the bushing to the hub.
Hammer and Block: Used for tapping the bushing into place without damaging the bushing or hub.
Clean Rags: To wipe off any dirt or grease from the shaft and hub.
Lubricant (for bolts): A small amount of oil can be used on the threads of screws, but avoid lubricating the bushing surfaces.
Proper surface preparation is key to achieving a secure installation. Here's how you should clean everything before starting:
Clean the Shaft: Wipe the shaft clean to remove any dirt, oil, or rust. Make sure it’s smooth and free of any debris.
Prepare the Hub: Similarly, clean the hub of the sprocket or pulley where the bushing will be mounted. It should be free of any grime or rust that could affect the bushing’s fit.
Bushing Preparation: Inspect the bushing for any signs of damage or debris. Clean it with a cloth, making sure there’s no dirt inside the bushing bore or on its surface.
Check for Burrs: Use a file to remove any sharp edges or burrs on the shaft or bushing that could cause uneven seating or damage during installation.
Begin by inserting the Taper-Lock bushing into the sprocket hub. Align the non-threaded holes on the bushing with the corresponding threaded holes on the hub. It's essential to ensure that the holes match up perfectly, as any misalignment can result in improper seating, which could compromise the performance of the drive system. If you're using a European Standard Taper Bushing or American Standard Taper Bushing, double-check that the bushing’s dimensions are compatible with the shaft and hub specifications. Using the wrong size could lead to fitting issues and damage the components.
Once the bushing is aligned with the hub, carefully slide the entire assembly onto the shaft. Take your time to position the bushing in the correct location along the shaft. Before you begin tightening, ensure that the key is securely placed in the shaft keyway. This key helps hold the bushing in place and prevents any rotational movement when the system is in operation. A well-positioned key ensures the bushing remains firmly attached to the shaft, preventing slipping or excessive wear during use.
With the bushing assembly in place, use a torque wrench to begin tightening the screws. Start by tightening them alternately and evenly. This ensures the bushing seats properly in the hub, distributing pressure evenly across the entire surface. Following the recommended torque values is crucial—too little torque will result in a loose fit, while over-tightening can damage the bushing or the hub. When tightening, always proceed in small, even increments. This prevents uneven pressure that could cause misalignment or stress on the components. Make sure to use a torque wrench to accurately measure and apply the correct amount of torque to each screw.
After tightening the screws, it's time to check the alignment and axial runout (wobble) of the sprocket or pulley. This ensures that everything is properly aligned, preventing vibrations that can cause premature wear or failure of the system. If any misalignment is noticed, make small adjustments to the bushing and hub until the system is perfectly aligned. After the initial adjustments, run the system for a short period to allow everything to settle. Recheck the tightness of the screws and ensure that they remain secure. Regularly inspect the bushing over time to maintain optimal performance and avoid any potential issues.
One of the most common mistakes when installing a Taper-Lock bushing is over-torquing the screws. Applying too much torque can cause the bushing to become overly compressed, leading to breakage or misalignment. It can also damage the threads in the hub or bushing. Always refer to the manufacturer’s recommended torque values and use a torque wrench to tighten the screws evenly and alternately.
Lubricants should never be used on the tapered surfaces of the bushing, shaft, or hub. While it may seem like lubrication would make installation easier, it actually reduces the friction needed for the bushing to seat properly. This can result in a loose fit, causing vibration, excessive wear, and premature failure. Ensure the surfaces are clean and dry before installation to maintain the correct level of friction.
Improper alignment is another common issue. When installing the bushing, ensure it is seated squarely and aligned with the threaded holes of the hub. If the bushing is misaligned, it can cause vibration during operation, leading to wear and tear on both the bushing and the shaft. Always double-check the alignment before tightening the screws and make small adjustments if necessary.
Start by loosening all the screws securing the bushing to the hub. Remove one or two screws depending on the number of removal holes in the bushing. It’s important to do this evenly to prevent damaging the threads. Loosen the screws gradually to release any tension. Be careful not to apply too much force, as it could cause the bushing to get stuck or damage the surrounding components.
Next, insert screws into the designated removal holes on the bushing. These holes are specifically designed to help disengage the bushing from the hub. Tighten the screws alternately in small increments to evenly apply pressure. This gradual tightening helps break the bond between the bushing and the hub. It’s essential to be patient—forcing the screws too quickly can cause damage.
Once the bushing is loosened, carefully remove it from the shaft. Gently tap the hub if necessary to assist in releasing the bushing. Take care not to damage the shaft or hub during this process. After the bushing is free, inspect both the bushing and shaft for any signs of wear or damage before reassembling or replacing the bushing.
If the bushing doesn't loosen as expected, don’t force it right away. Instead, try light tapping on the hub using a hammer and block. This gentle tapping helps break any bond between the bushing and the hub. After tapping, go back and alternate tightening the removal screws again. This process will gradually loosen the bushing without causing any damage. Always tighten screws evenly and in small increments to ensure balanced pressure.
Sometimes, a bushing may be particularly stubborn or stuck. In such cases, applying a bit more force might be necessary, but it should be done carefully. You can use penetrating oil around the edges where the bushing meets the hub, allowing it to seep into any tight spaces. Give it some time to work before attempting the removal again. If the bushing still won’t budge, try using a bushing puller tool, which can provide more leverage and make removal easier.
To get the most out of your Taper-Lock bushings, regular maintenance is essential. Start by conducting routine checks on the bushing and surrounding components. Look for any signs of wear or loose bolts. If necessary, re-tighten the screws periodically to ensure they remain secure. Cleaning the shaft, bushing, and hub regularly will help prevent debris buildup, which could affect the bushing’s performance. Finally, after any heavy use or extended operation, check the alignment and seating of the bushing to maintain optimal performance.
Over time, Taper-Lock bushings may show signs of wear that indicate it's time for maintenance or replacement. Here are some things to watch out for:
Excessive Vibration: If the bushing isn’t seated properly or is worn, it can cause the component to vibrate during operation.
Visible Cracks or Deformation: Inspect the bushing for any visible cracks or deformation, which suggest it is no longer functioning correctly.
Loosening Screws: If you find yourself tightening the screws more frequently, the bushing may be losing its grip on the shaft, indicating wear.
Uneven Wear Patterns: Inspect the shaft and hub for uneven wear, which can occur if the bushing has been misaligned or is no longer seated properly.
If you notice any of these signs, it's time to replace or service the bushing to avoid further damage to your drive system.
Proper installation and removal of Taper-Lock bushings ensure efficient performance and prevent damage. Regular maintenance, including cleaning and re-tightening, helps extend their lifespan. Make routine checks a habit to maintain optimal drive system performance.
A: American Standard Taper Bushing and European Standard Taper Bushing come in various sizes to fit different shaft diameters, ensuring compatibility with most applications. Always check the bushing’s specifications for proper sizing.
A: Improper tightening can lead to misalignment, vibration, or even damage to the shaft or hub. It may also cause the bushing to loosen, affecting performance.
A: After installation, check the torque periodically, especially after initial operation. It’s recommended to check every few months or after heavy use to ensure screws are properly tightened.